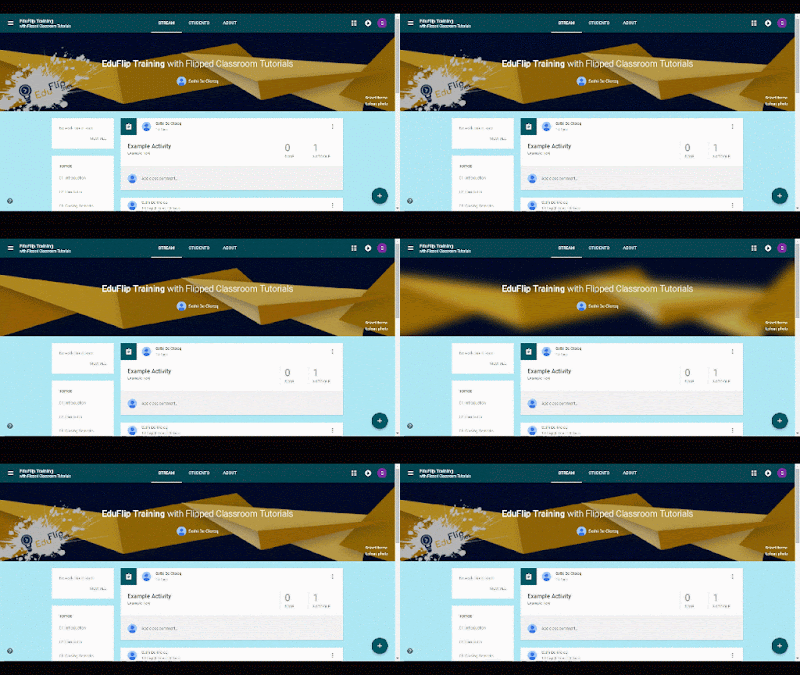
If you are are a regular reader of my blogs on EduFlip.net or follow my tutorials on YouTube, you know I enjoy trying new and different things. Having been to quite a few summits, schools and classrooms, I can say I have seen a fair share of Google Classroom courses in action and continue to find Classroom one of THE most powerful, education oriented tools available in G Suite.
So me, being me I looked for things I could do that you probably didn’t know about or didn’t use. Which brings me to the topic of this post: Give your Google Classroom that modern look you’ve always wanted. With an animation in the header that’s possible today!
That’s right. You too can add cool animations to the header of any classroom. Watch the video below or read this BlogPost to find out just how that’s done.
The second half if the post and video will show you how you can create your very own animations to be added to your Google classroom in Camtasia 9.
Let’s start by looking at how we can create such an animation for our classroom by reusing animations already pre-created and available freely online.
Start off by doing a simple Google search for GIF files. Make sure that you define the images you’re looking for by selecting the appropriate usage license and file type.
Once you have located that perfect file that you think would look great, in the header of your classroom, go ahead and right click on the image to download.
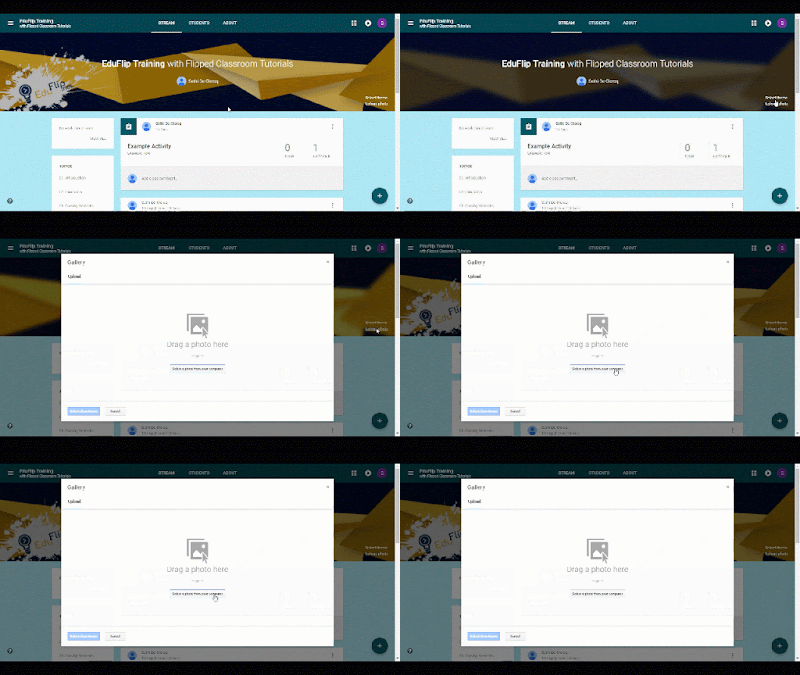
Now All That’s left is for us to do, is open up Google classroom and add this image to our header. You can do this by navigating to the Header in classroom and clicking on the ‘upload photo’ option. This will allow you to upload an image and is where we will select our previously downloaded GIF file.
And that’s all there is to it. You can now enjoy your mother and looking Google classroom and your students will love the new feel and look of this header.
Now if you are like me and you like a more advanced or unique-looking Header, you will be looking into creating your very own GIF file.
Now this is easily done within any video editing software and for the sake of this demonstration I will have been using Camtasia 9. You can find the full walkthrough on how to do this in the video below!
What’s important to remember here are the editing Dimensions.You can create a static image in Google drawings by using these same dimensions.
The dimensions needed for a header in a Google classroom or 600 pixels wide by 200 pixels high, this can go up to 300 pixels if you choose to. However, when using slightly larger images you will be asked to crop the image after uploading.
Another thing to take into consideration is that your Course title will be placed in the middle of the image. So when designing the header, it is important to think about these fixed elements.
As always, I challenge you to pushing the boundaries of what is possible and would love to see and read about your animated headers, or about the any other things YOU are doing to push the boundaries of Google Classroom!


